
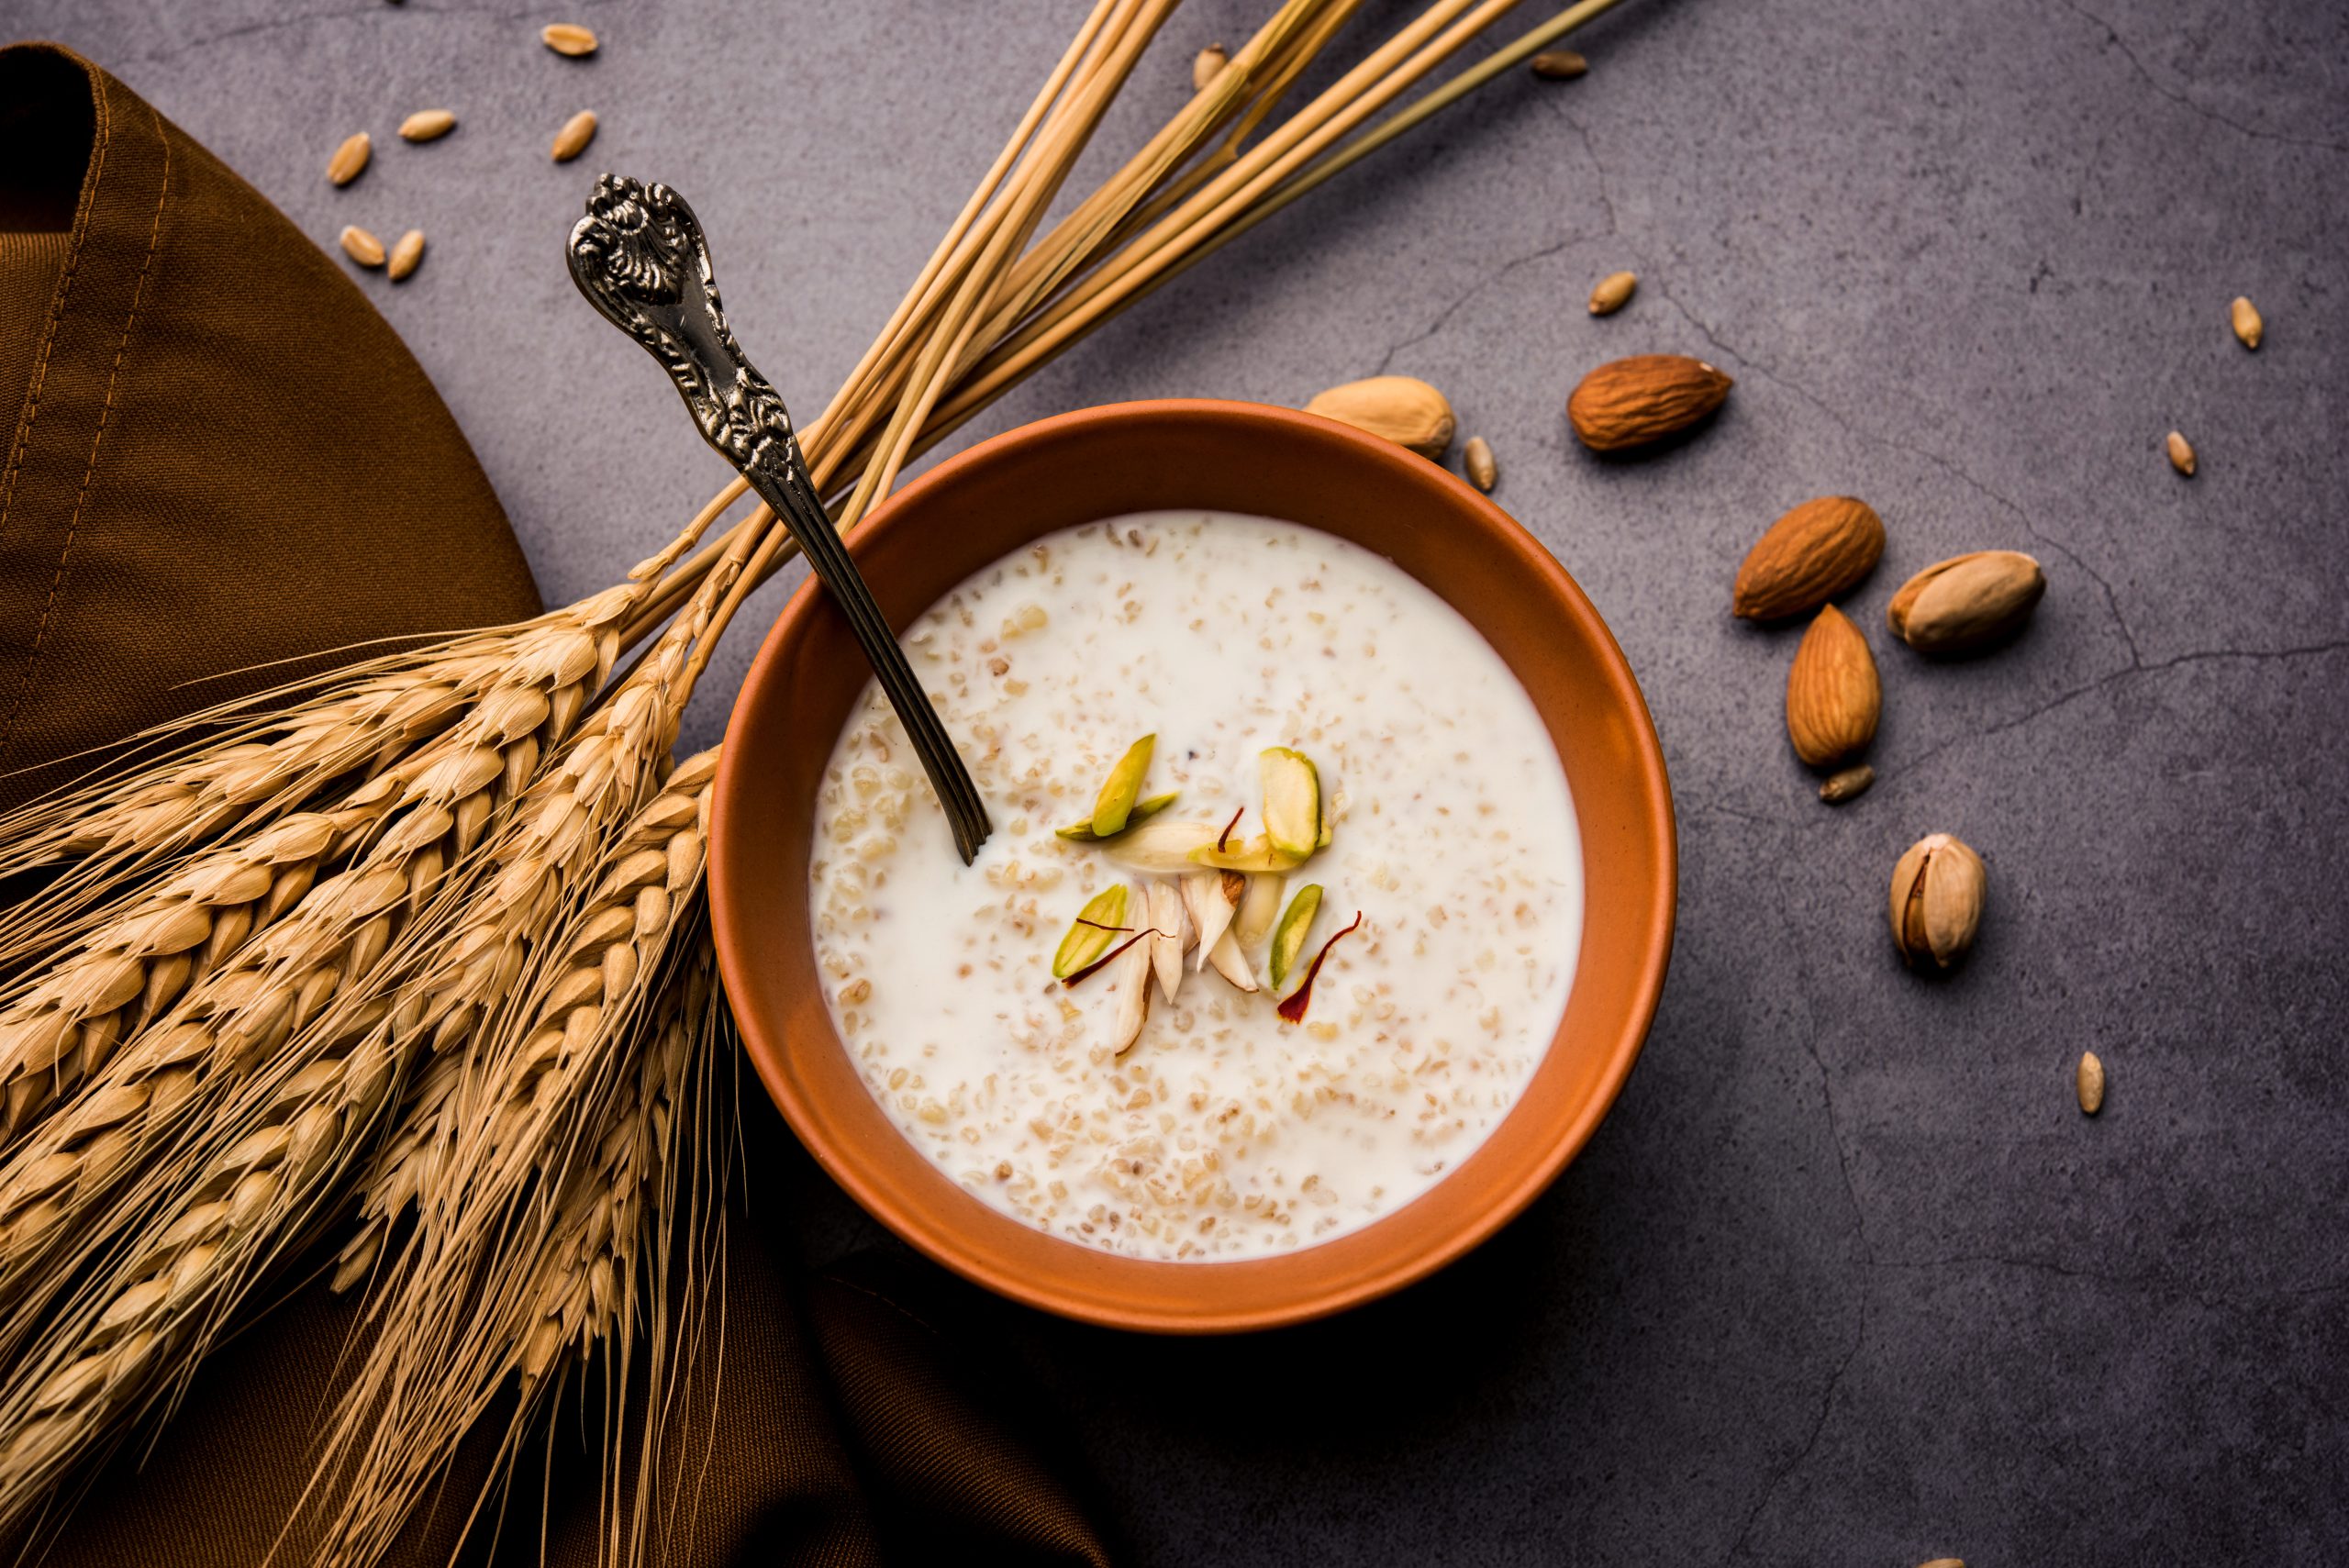


Kheer, a traditional South Asian rice pudding, is one of the most beloved desserts across Pakistan, India, and beyond. Rich, creamy, and infused with aromatic flavors, kheer is often served during festivals, family gatherings, or special occasions. Despite its luxurious taste, making kheer at home is surprisingly simple, requiring only a few basic ingredients.
In this blog, we’ll guide you through a step-by-step recipe for classic, creamy kheer that’s perfect for any celebration or a comforting dessert after a meal.
Ingredients You’ll Need
For a delicious, creamy kheer, gather the following ingredients:
-
1/2 cup basmati rice
-
1 liter full-fat milk
-
1/2 cup sugar (adjust to taste)
-
4–5 green cardamom pods, crushed
-
10–12 cashews
-
10–12 almonds, sliced
-
10–12 pistachios, sliced
-
1 tsp rose water (optional)
-
1/4 tsp saffron strands (optional for extra aroma and color)
Step 1: Wash and Soak the Rice
Start by washing the basmati rice under cold running water to remove excess starch. Soak the rice in water for 20–30 minutes. Soaking helps the rice cook faster and gives the kheer a smoother, creamier texture.
Step 2: Boil the Milk
In a heavy-bottomed pan, bring the milk to a gentle boil over medium heat. Stir occasionally to prevent the milk from sticking to the bottom. Use a thick-bottomed pan to ensure even cooking and avoid burning.
Step 3: Cook the Rice
Drain the soaked rice and add it to the boiling milk. Reduce the heat to low and let the rice simmer gently. Stir frequently to prevent the milk from overflowing or the rice from sticking.
Cooking the rice slowly allows the grains to absorb the milk and soften properly, creating a creamy base for the kheer.
Step 4: Add Sugar and Cardamom
Once the rice is tender, add sugar and crushed cardamom pods. Stir well to dissolve the sugar completely. The cardamom gives the kheer its signature aromatic flavor that pairs perfectly with the creamy milk.
Step 5: Add Nuts and Flavorings
Next, add sliced almonds, cashews, and pistachios. You can lightly roast the nuts beforehand for an enhanced nutty flavor.
If you like, add a few strands of saffron soaked in a teaspoon of warm milk or a few drops of rose water for an authentic, fragrant touch.
Step 6: Simmer Until Thick
Continue cooking the kheer on low heat, stirring frequently, until it reaches a creamy consistency. This usually takes around 15–20 minutes after adding sugar. Remember, kheer thickens slightly as it cools, so don’t overcook.
Step 7: Serve Warm or Chilled
Kheer can be enjoyed warm as a comforting dessert or chilled for a refreshing treat, especially in summer. Pour it into serving bowls and garnish with extra nuts or saffron strands for a beautiful presentation.
Tips for Perfect Creamy Kheer
-
Use full-fat milk – It ensures a rich and creamy texture.
-
Stir frequently – Prevents the milk from burning and sticking to the pan.
-
Soak saffron – This helps release its natural color and aroma fully.
-
Adjust sweetness – Taste the kheer before removing from heat; you can add sugar gradually.
-
Optional thickening – For extra richness, add a few tablespoons of condensed milk or evaporated milk.
Why Classic Kheer Is Special
Kheer is more than just a dessert. It’s a symbol of celebration, tradition, and hospitality. Its creamy texture and delicate flavor appeal to people of all ages. Making kheer at home allows you to customize it according to your taste — whether richer, sweeter, or more aromatic with saffron and nuts.
Final Thoughts
With this classic kheer recipe, you can enjoy a traditional, creamy dessert anytime at home. The combination of slow-cooked milk, tender rice, fragrant cardamom, and crunchy nuts makes it a luxurious yet simple treat.
Whether it’s a festive occasion, family gathering, or just a sweet craving, this kheer is sure to impress. Serve it warm for comfort or chilled for a refreshing delight, and savor the rich flavors of a timeless South Asian dessert.