

In today’s digital world, food photography is more important than ever. Whether you’re sharing recipes on a blog, posting on social media, or promoting a home-based food business, high-quality food photos can make a huge difference. The good news? You don’t need expensive cameras or professional studios to capture beautiful food images. With a few simple techniques and thoughtful setup, you can take stunning food photos right at home.
Here’s a complete guide to help you improve your food photography skills.
1. Use Natural Light Whenever Possible
Lighting is the most important element in food photography. The best and most flattering light source is natural daylight.
Place your dish near a window where soft light enters from the side. Side lighting creates gentle shadows that add depth and texture. Avoid direct harsh sunlight because it can create strong shadows and overexposed areas.
If the light is too strong, use a thin curtain or white cloth to diffuse it. Turn off indoor yellow lights, as mixing light sources can make your photos look unnatural.
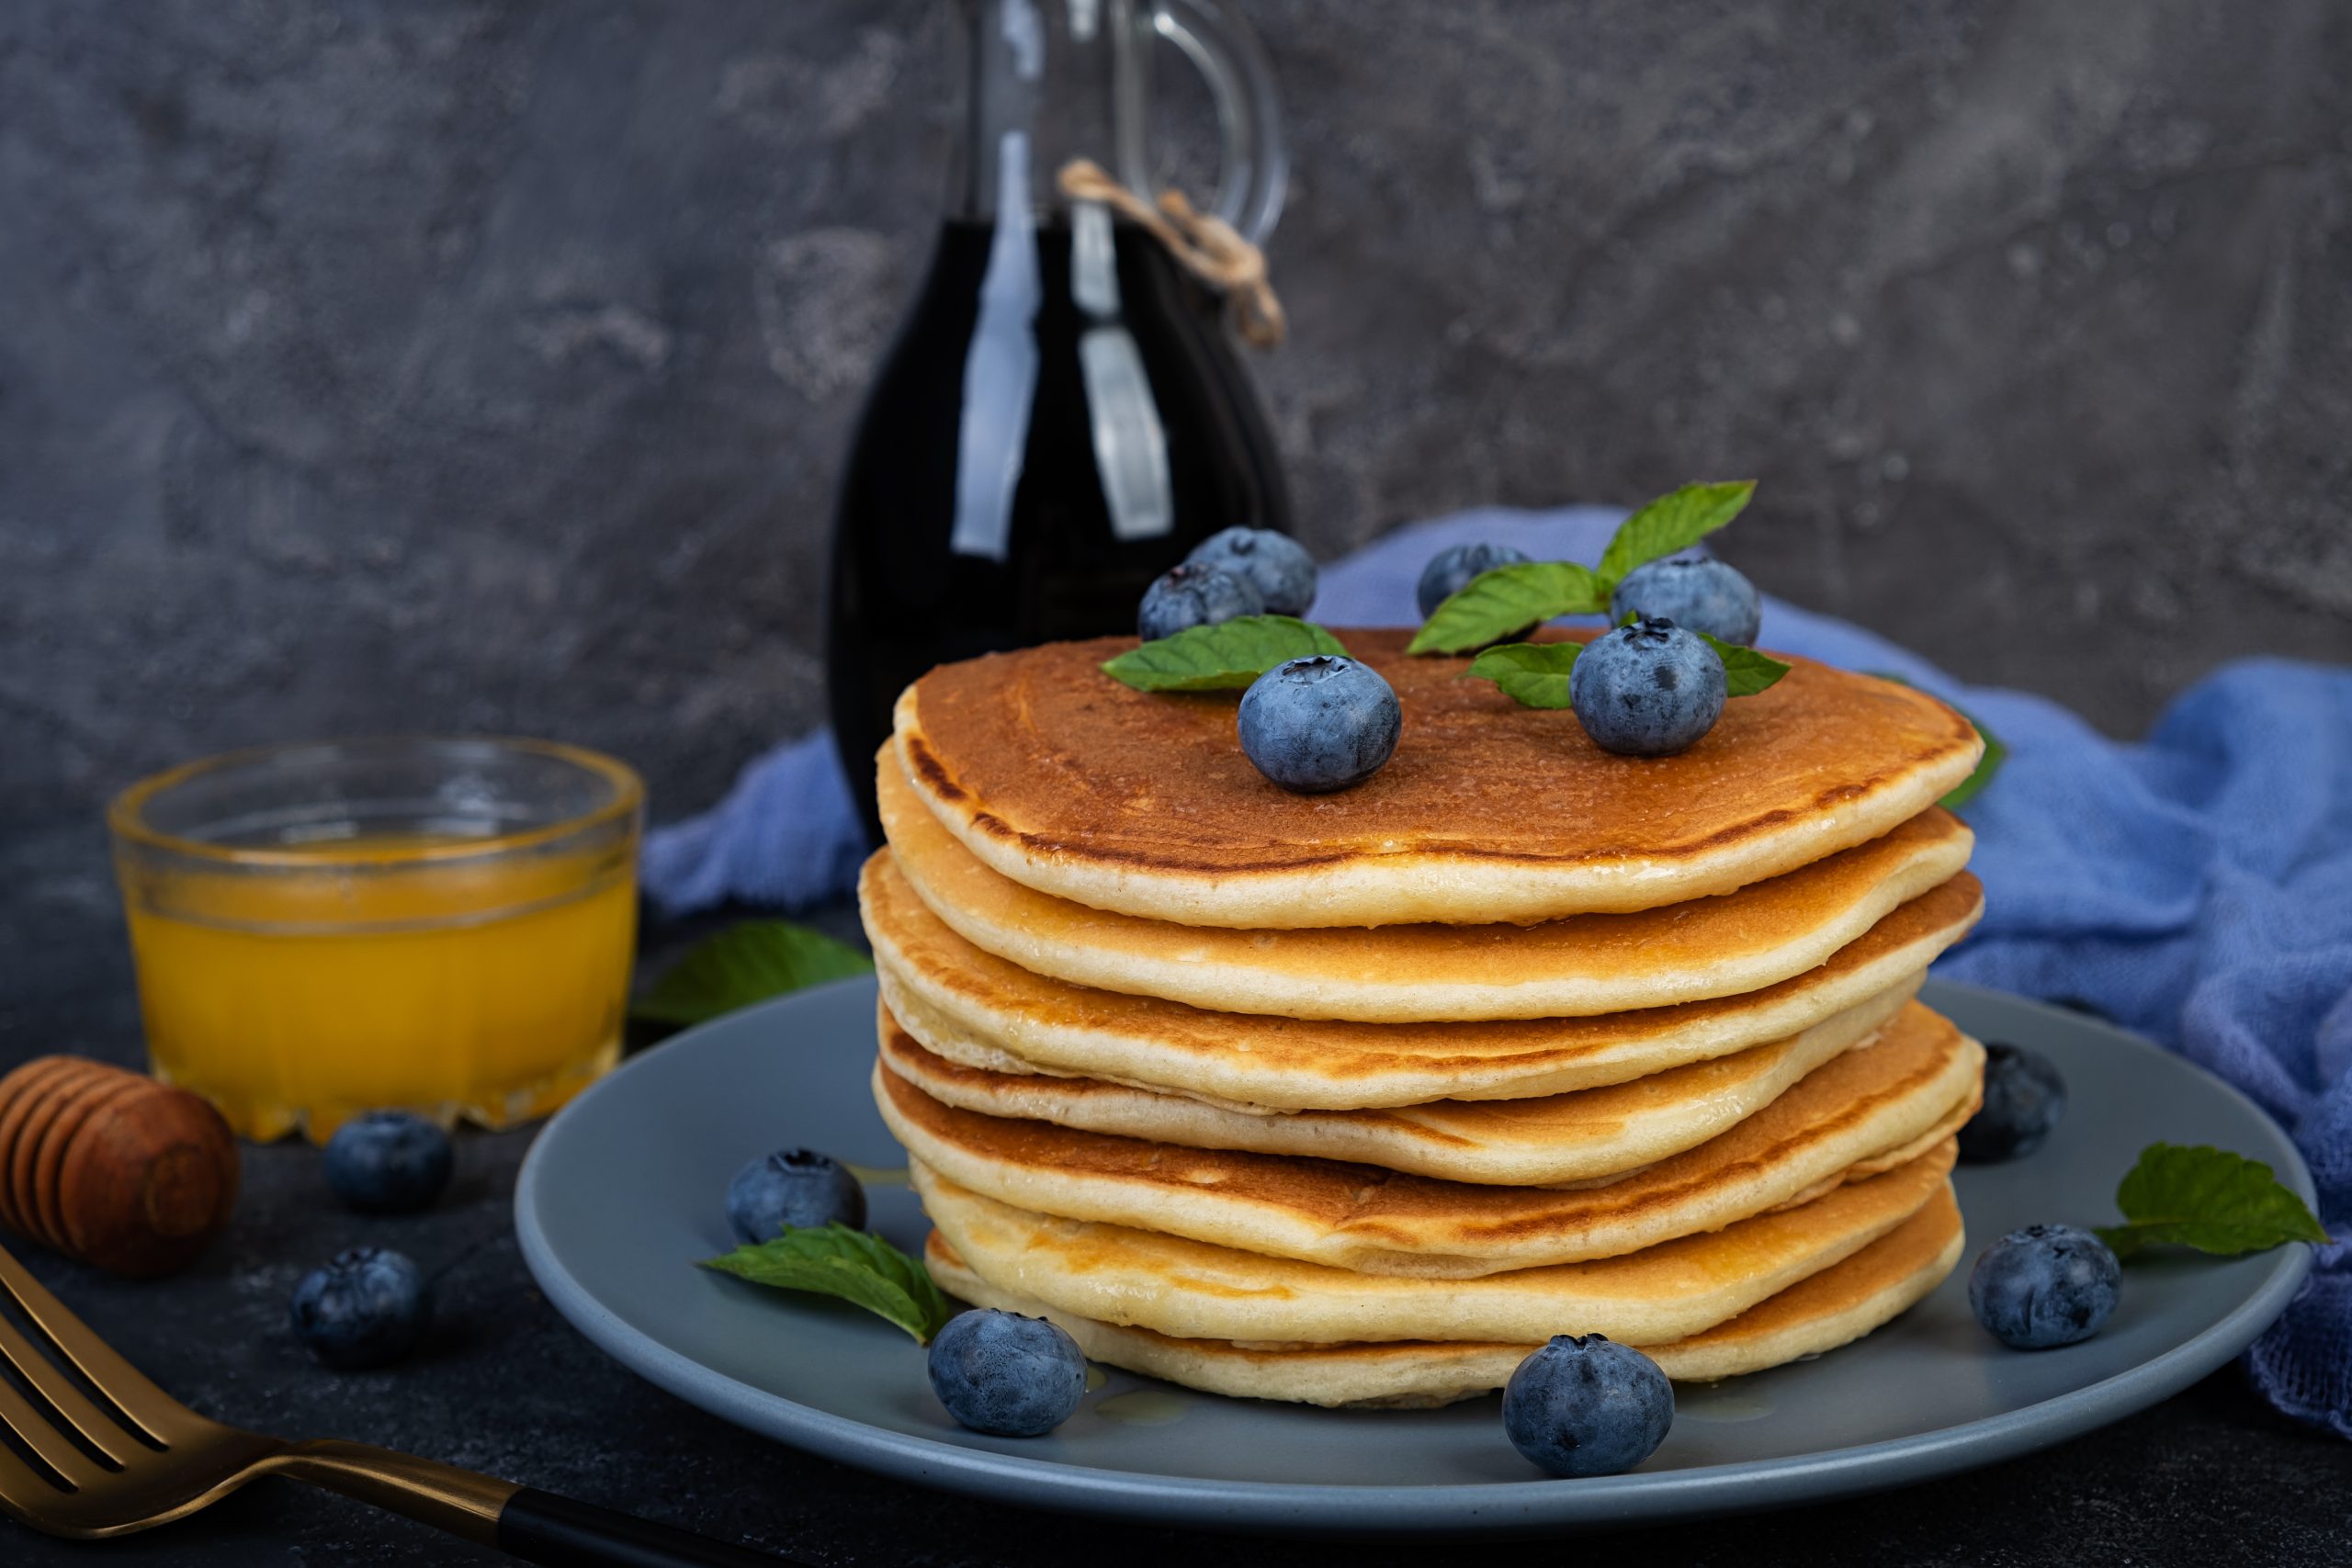
2. Choose the Right Background
The background sets the mood of your photo. Keep it simple and clean so the food remains the main focus.
Good background options include:
-
Wooden tables
-
White or neutral-colored surfaces
-
Marble countertops
-
Plain cloth or linen
Avoid busy patterns or cluttered spaces. A simple background helps highlight the dish and makes the image look more professional.
3. Focus on Composition
Composition refers to how you arrange elements in the frame.
Here are some easy composition tips:
Use the Rule of Thirds
Imagine dividing your frame into nine equal sections. Place the main subject slightly off-center rather than directly in the middle. This creates a more visually appealing image.
Leave Negative Space
Don’t fill the entire frame with food. Leaving some empty space makes the photo look balanced and elegant.
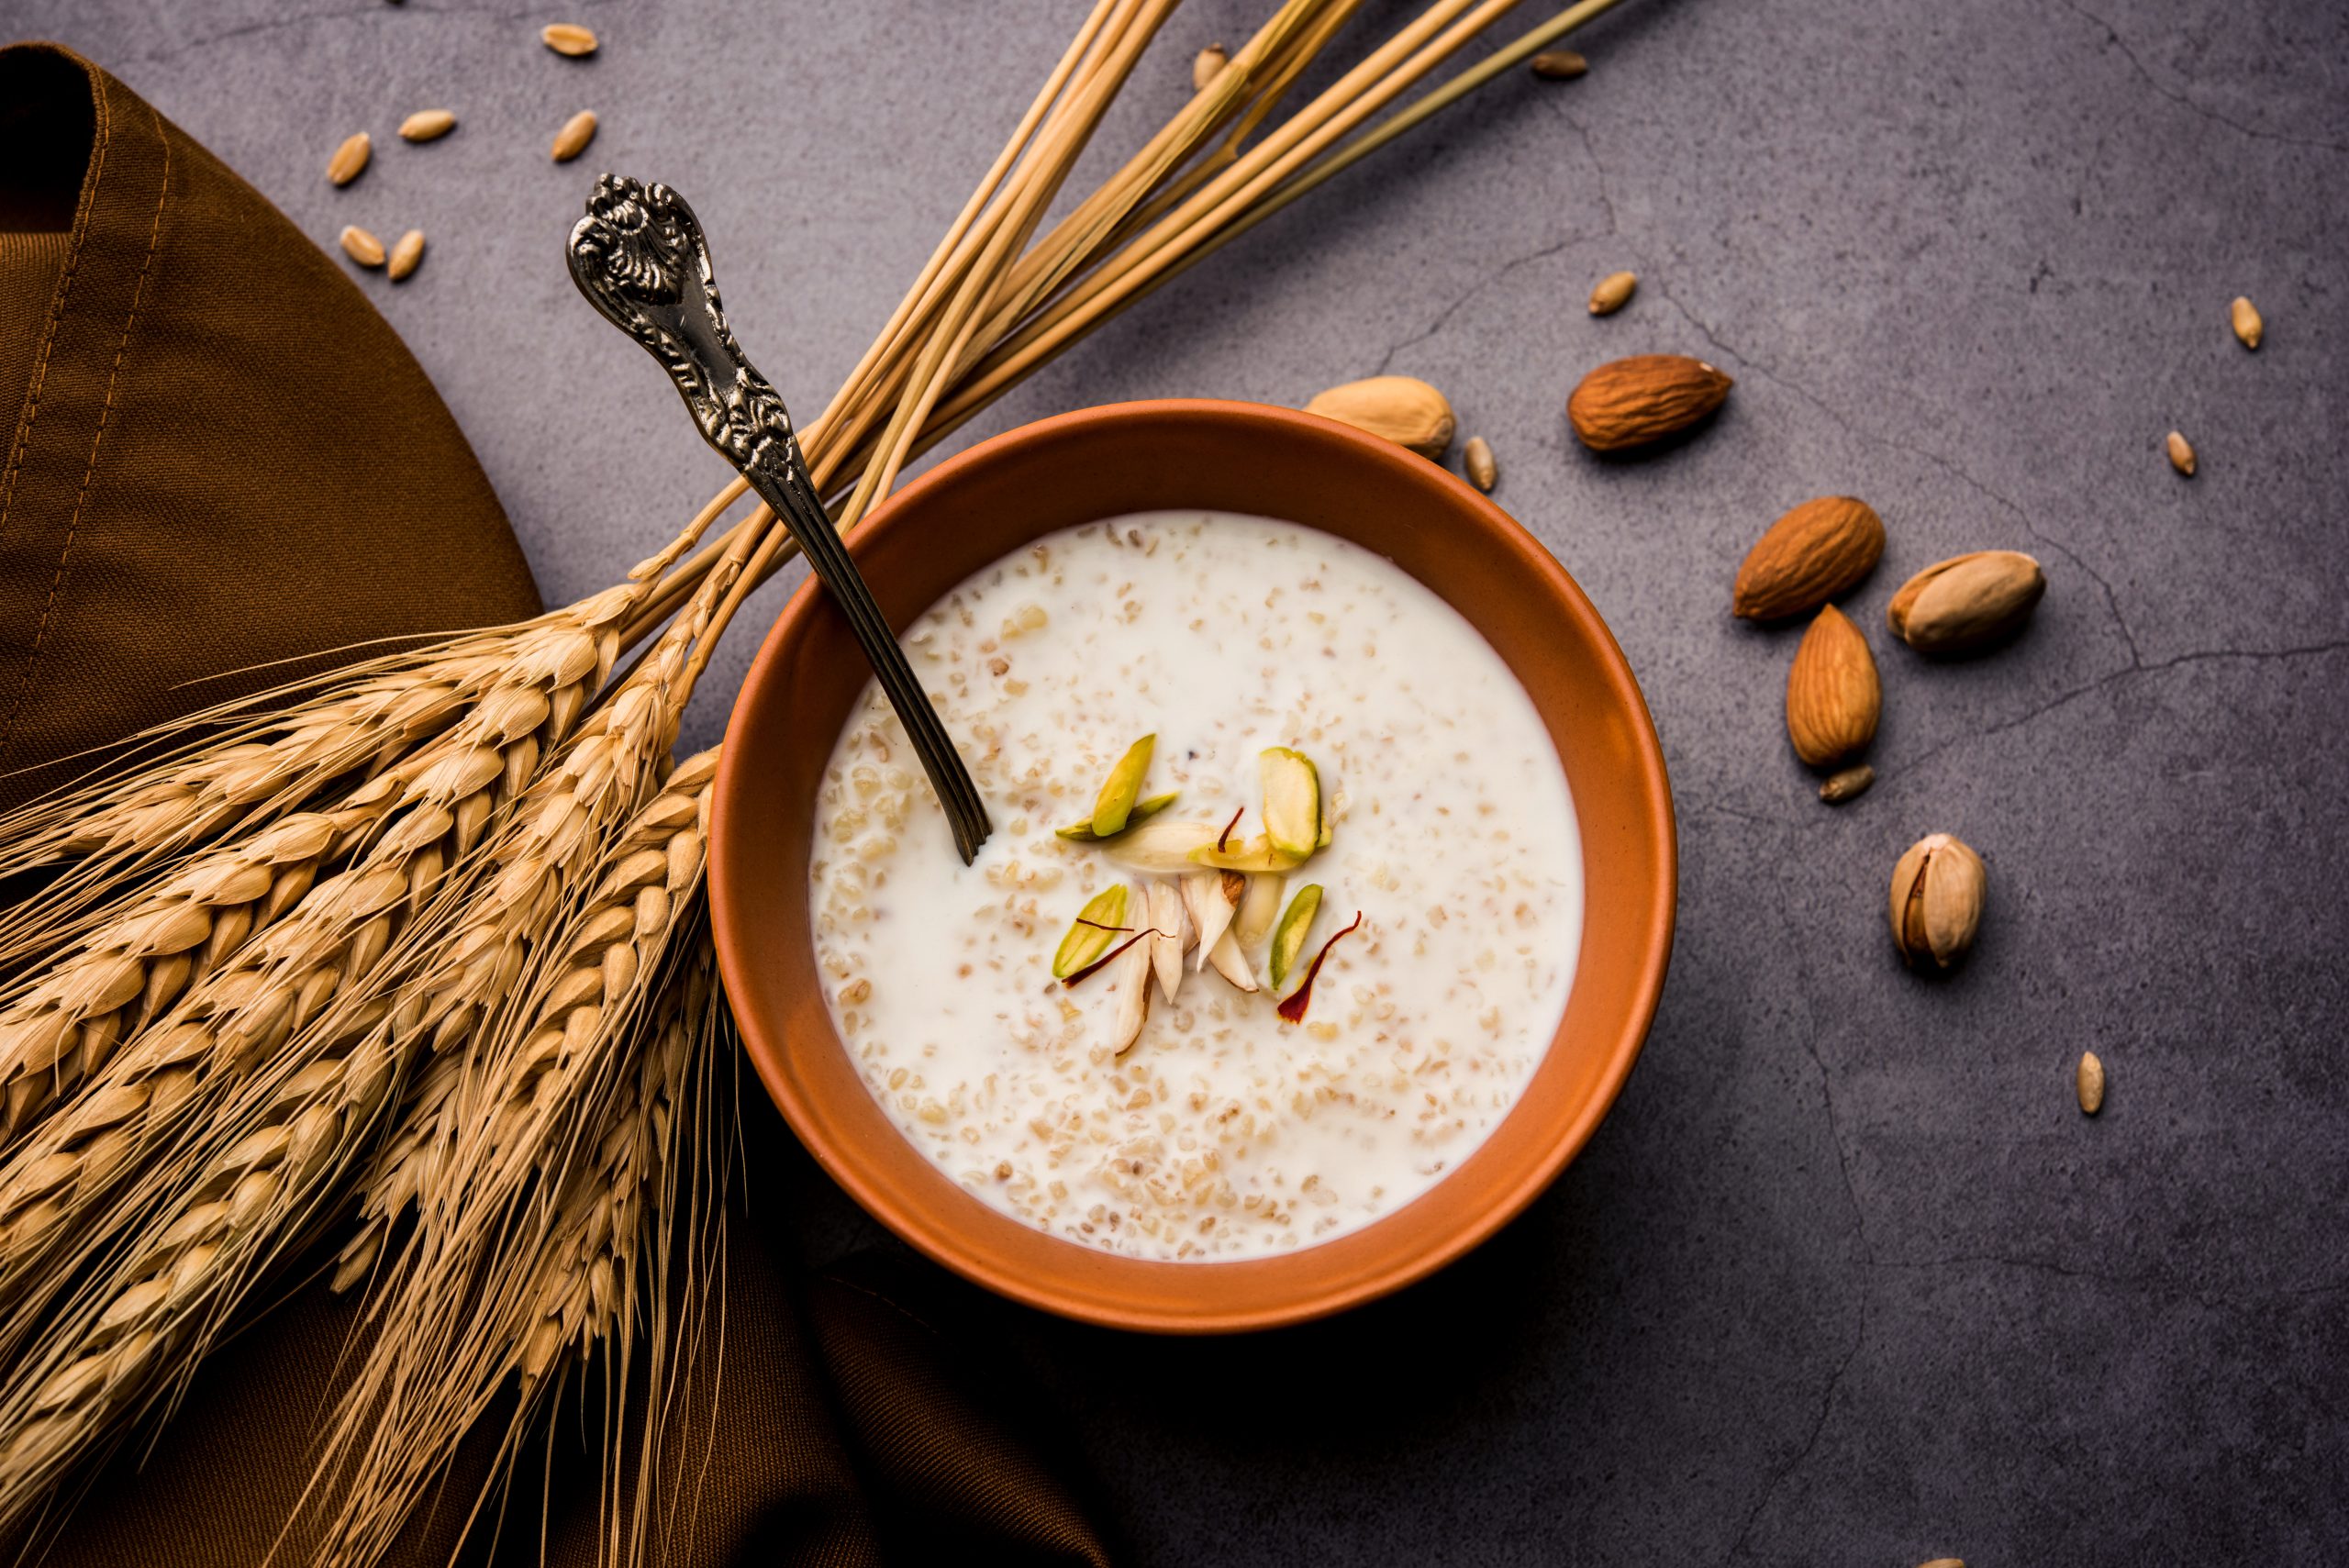
Add Layers
Include small elements like ingredients, utensils, or napkins to create depth. For example, place a spoon beside a bowl of soup or scatter a few fresh herbs around the plate.
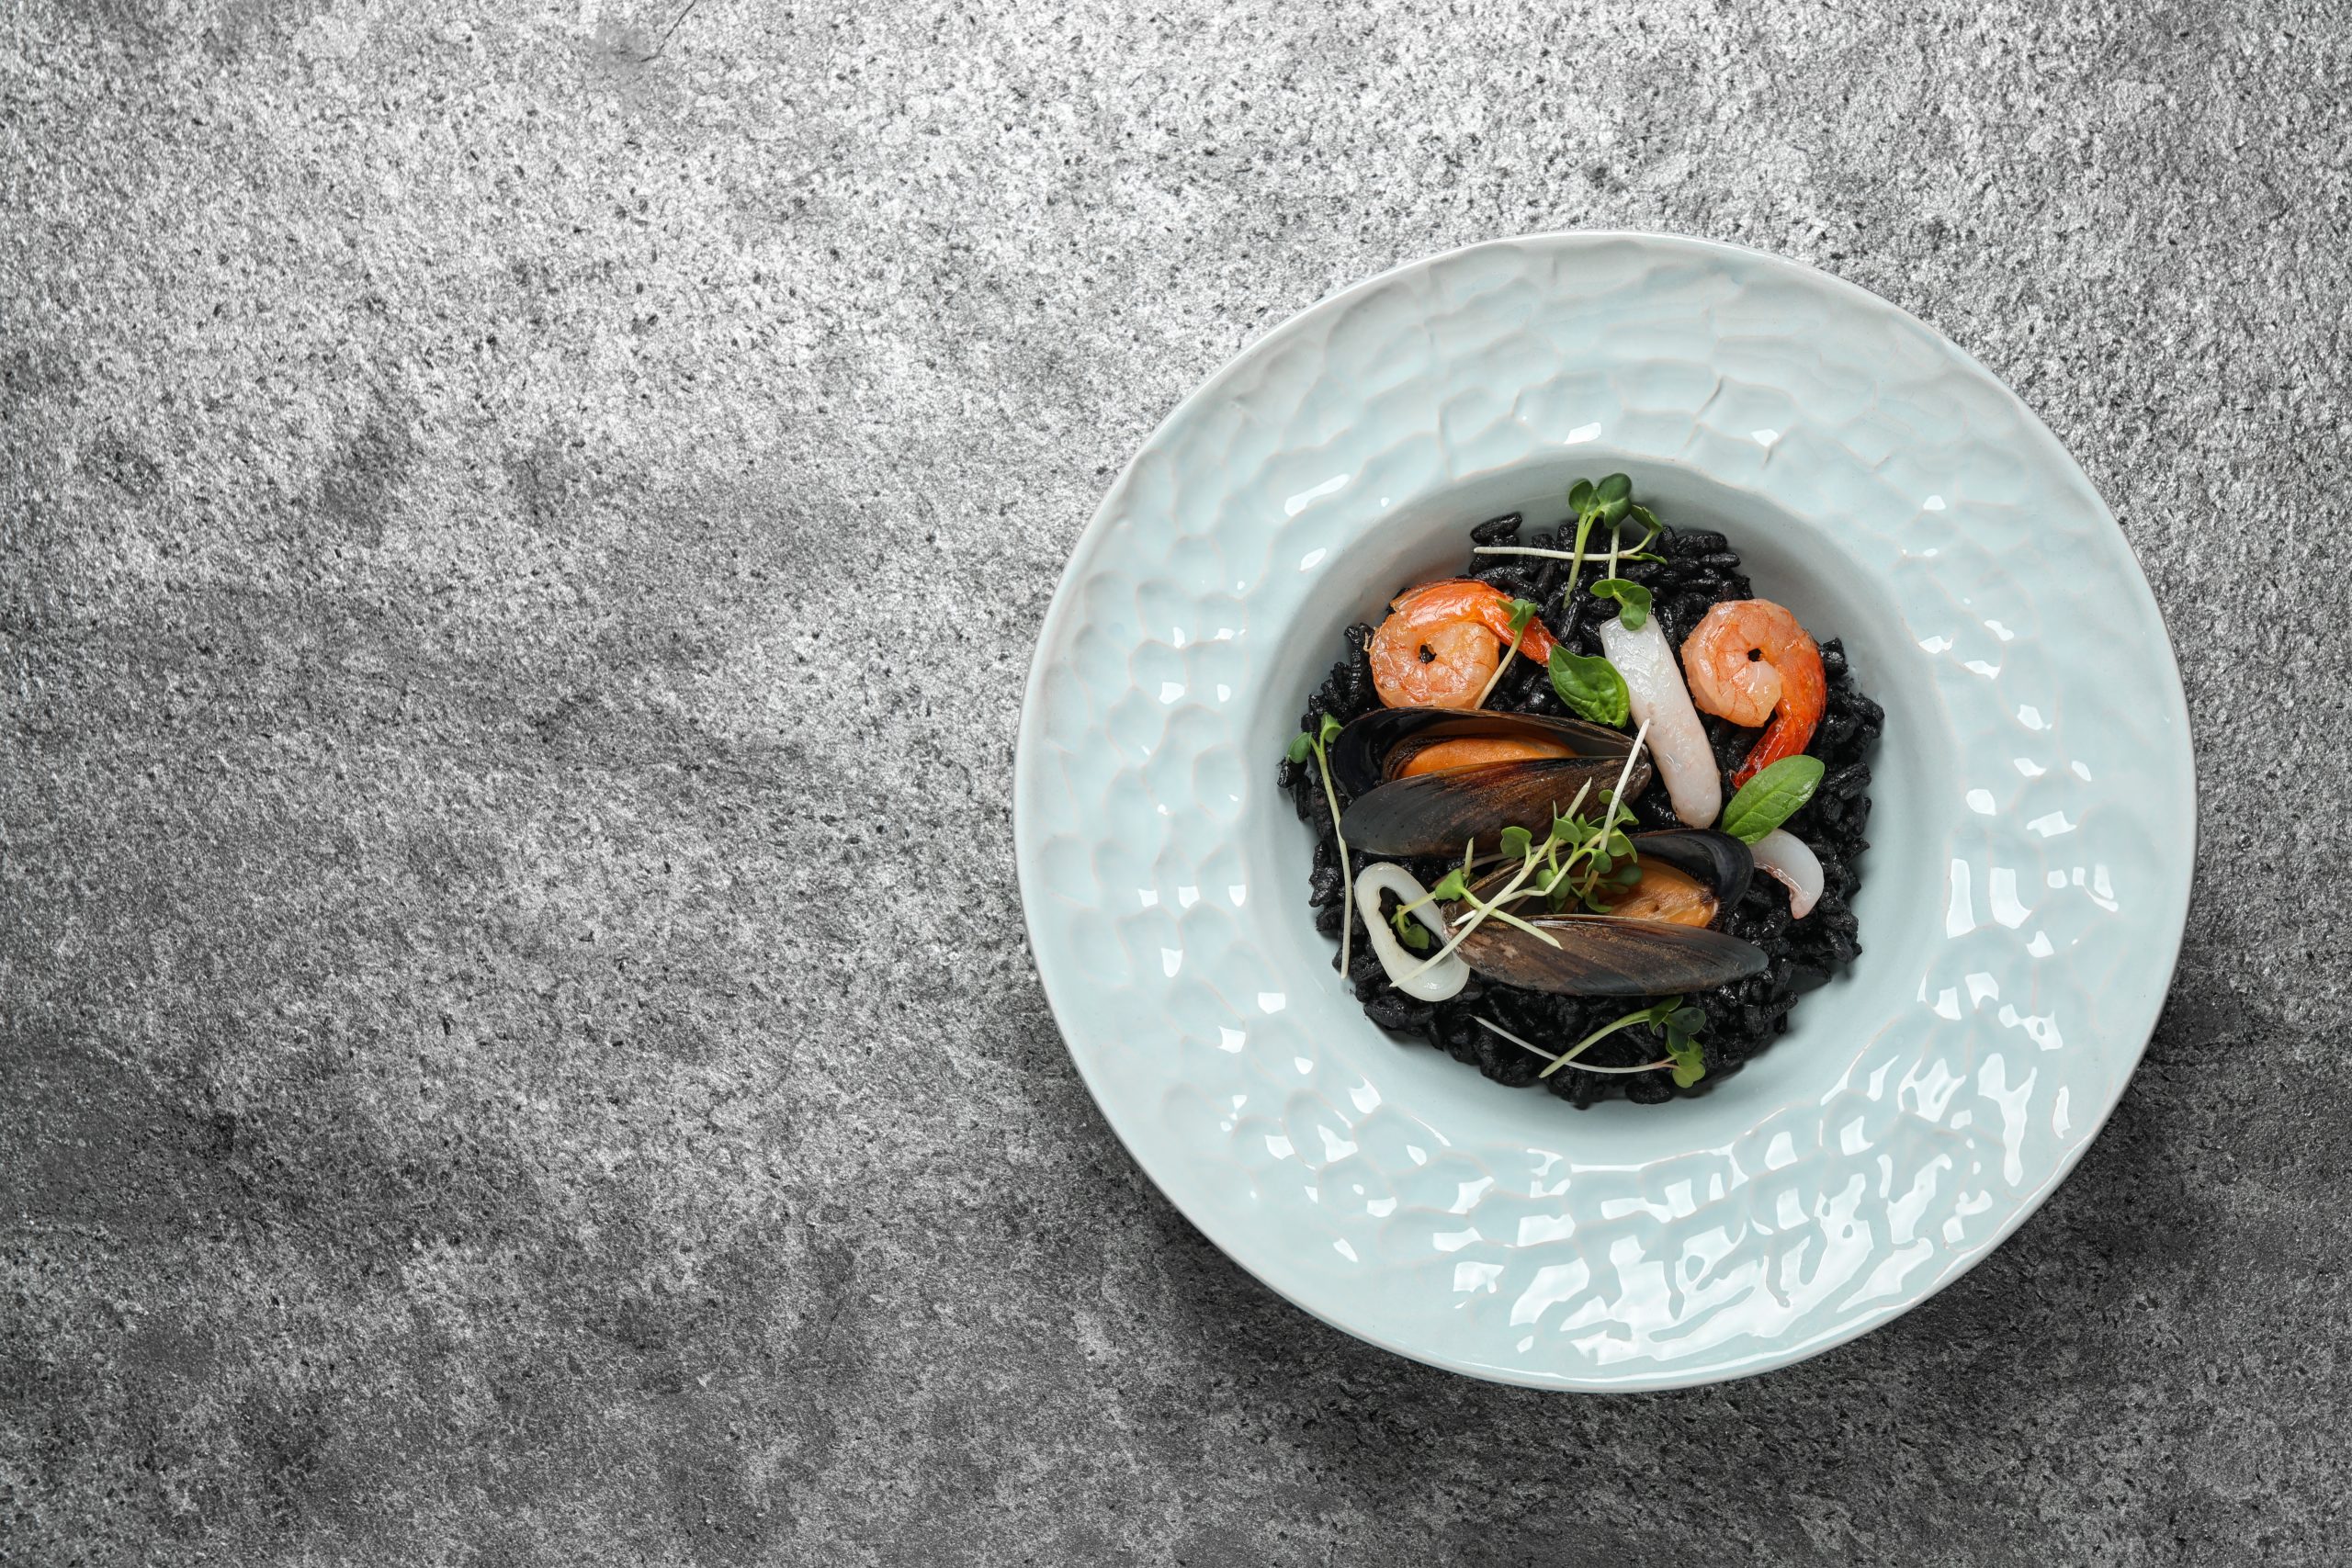
4. Pay Attention to Angles
Different dishes look better from different angles.
-
Top-down (flat lay): Perfect for pizzas, salads, and table spreads.
-
45-degree angle: Works well for plated meals.
-
Side angle: Ideal for burgers, cakes, and layered dishes.
Experiment with different angles to see what highlights your dish best.
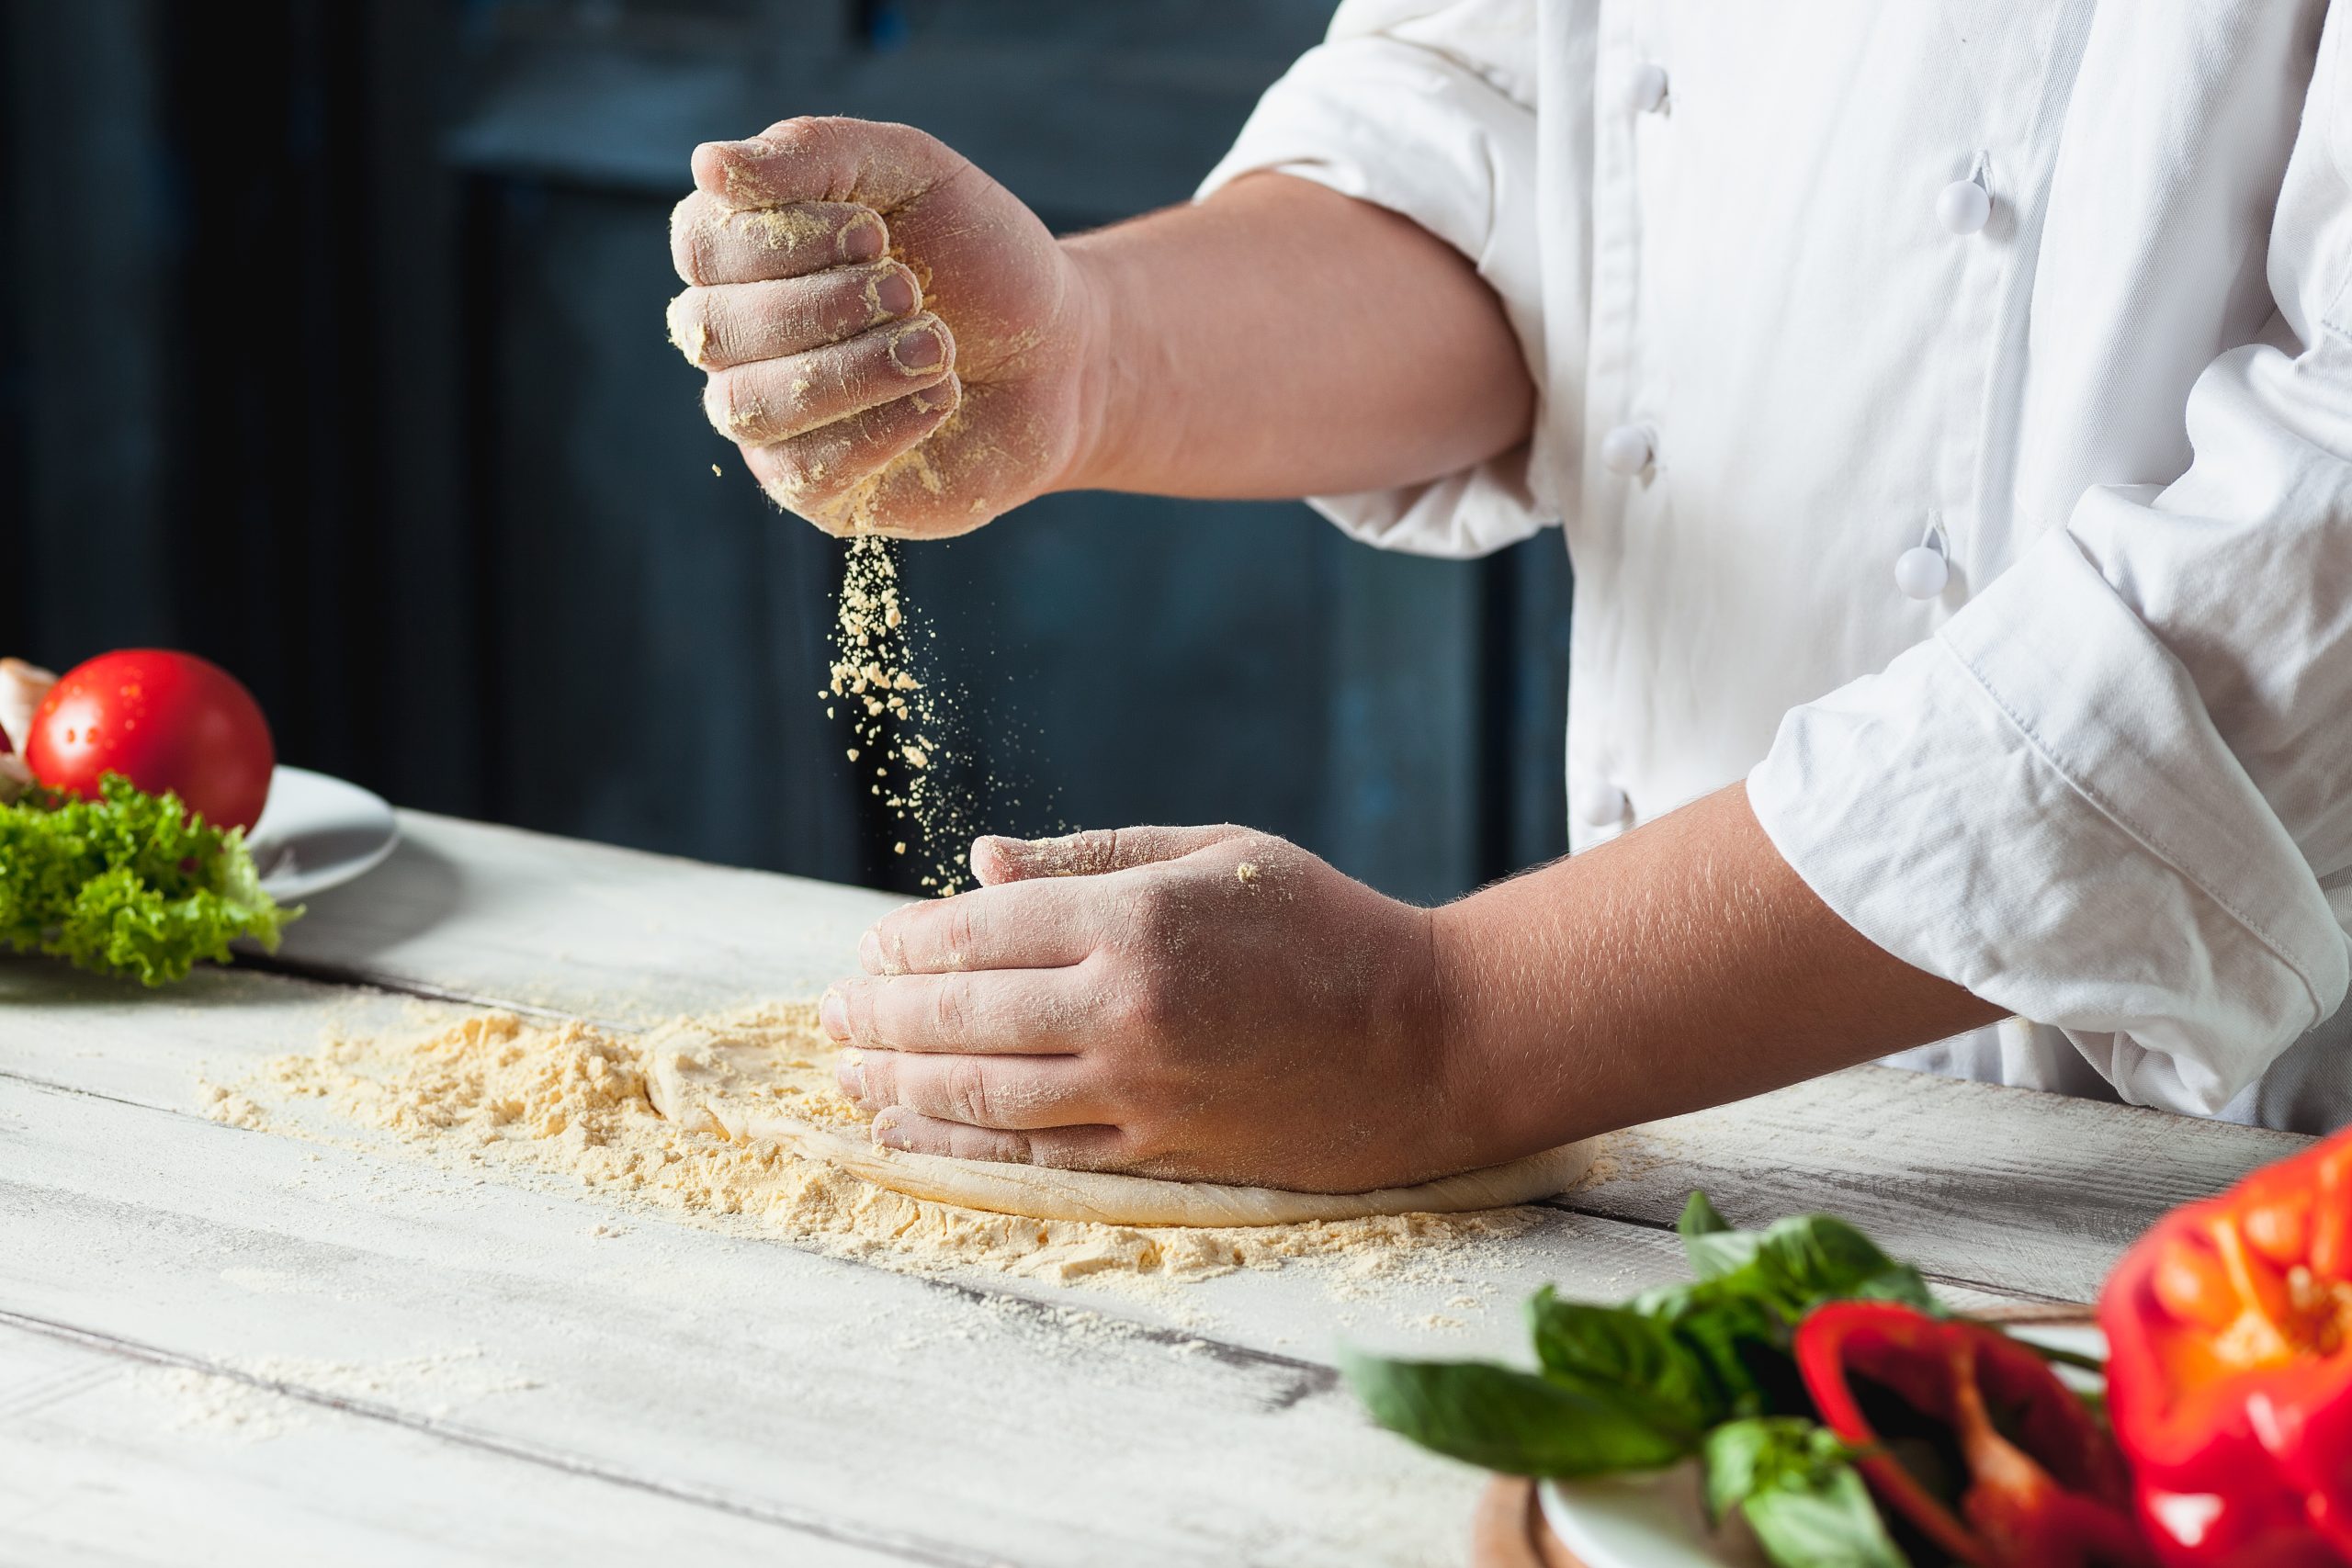
5. Style the Food Thoughtfully
Food styling doesn’t need to be complicated. Small details can make a big difference.
Tips for styling:
-
Add fresh herbs for color.
-
Brush meat or vegetables lightly with oil for shine.
-
Wipe plate edges clean before shooting.
-
Use simple, neutral-colored plates.
Avoid overloading the plate. Minimal styling often looks more refined.
6. Use Your Smartphone Smartly
You don’t need a DSLR camera to take great photos. Modern smartphones have excellent cameras.
To improve smartphone photos:
-
Tap on the food to focus.
-
Lower exposure slightly if the image looks too bright.
-
Avoid using flash.
-
Clean your camera lens before shooting.
Natural light and good composition matter more than expensive equipment.
7. Control Shadows and Reflections
Shadows add depth, but harsh shadows can ruin a photo.
If shadows are too dark:
-
Place a white paper or foam board opposite the window to reflect light.
-
Move the plate slightly closer to the light source.
For reflective surfaces like shiny plates, adjust your angle to reduce glare.
8. Highlight Texture
Texture makes food look delicious in photos.
Capture:
-
The steam rising from hot dishes.
-
The creamy layers of cake.
-
The crisp edges of fried food.
-
The juicy interior of sliced fruit.
You can cut into food or break it open slightly to show the inside. This makes the image more appetizing.
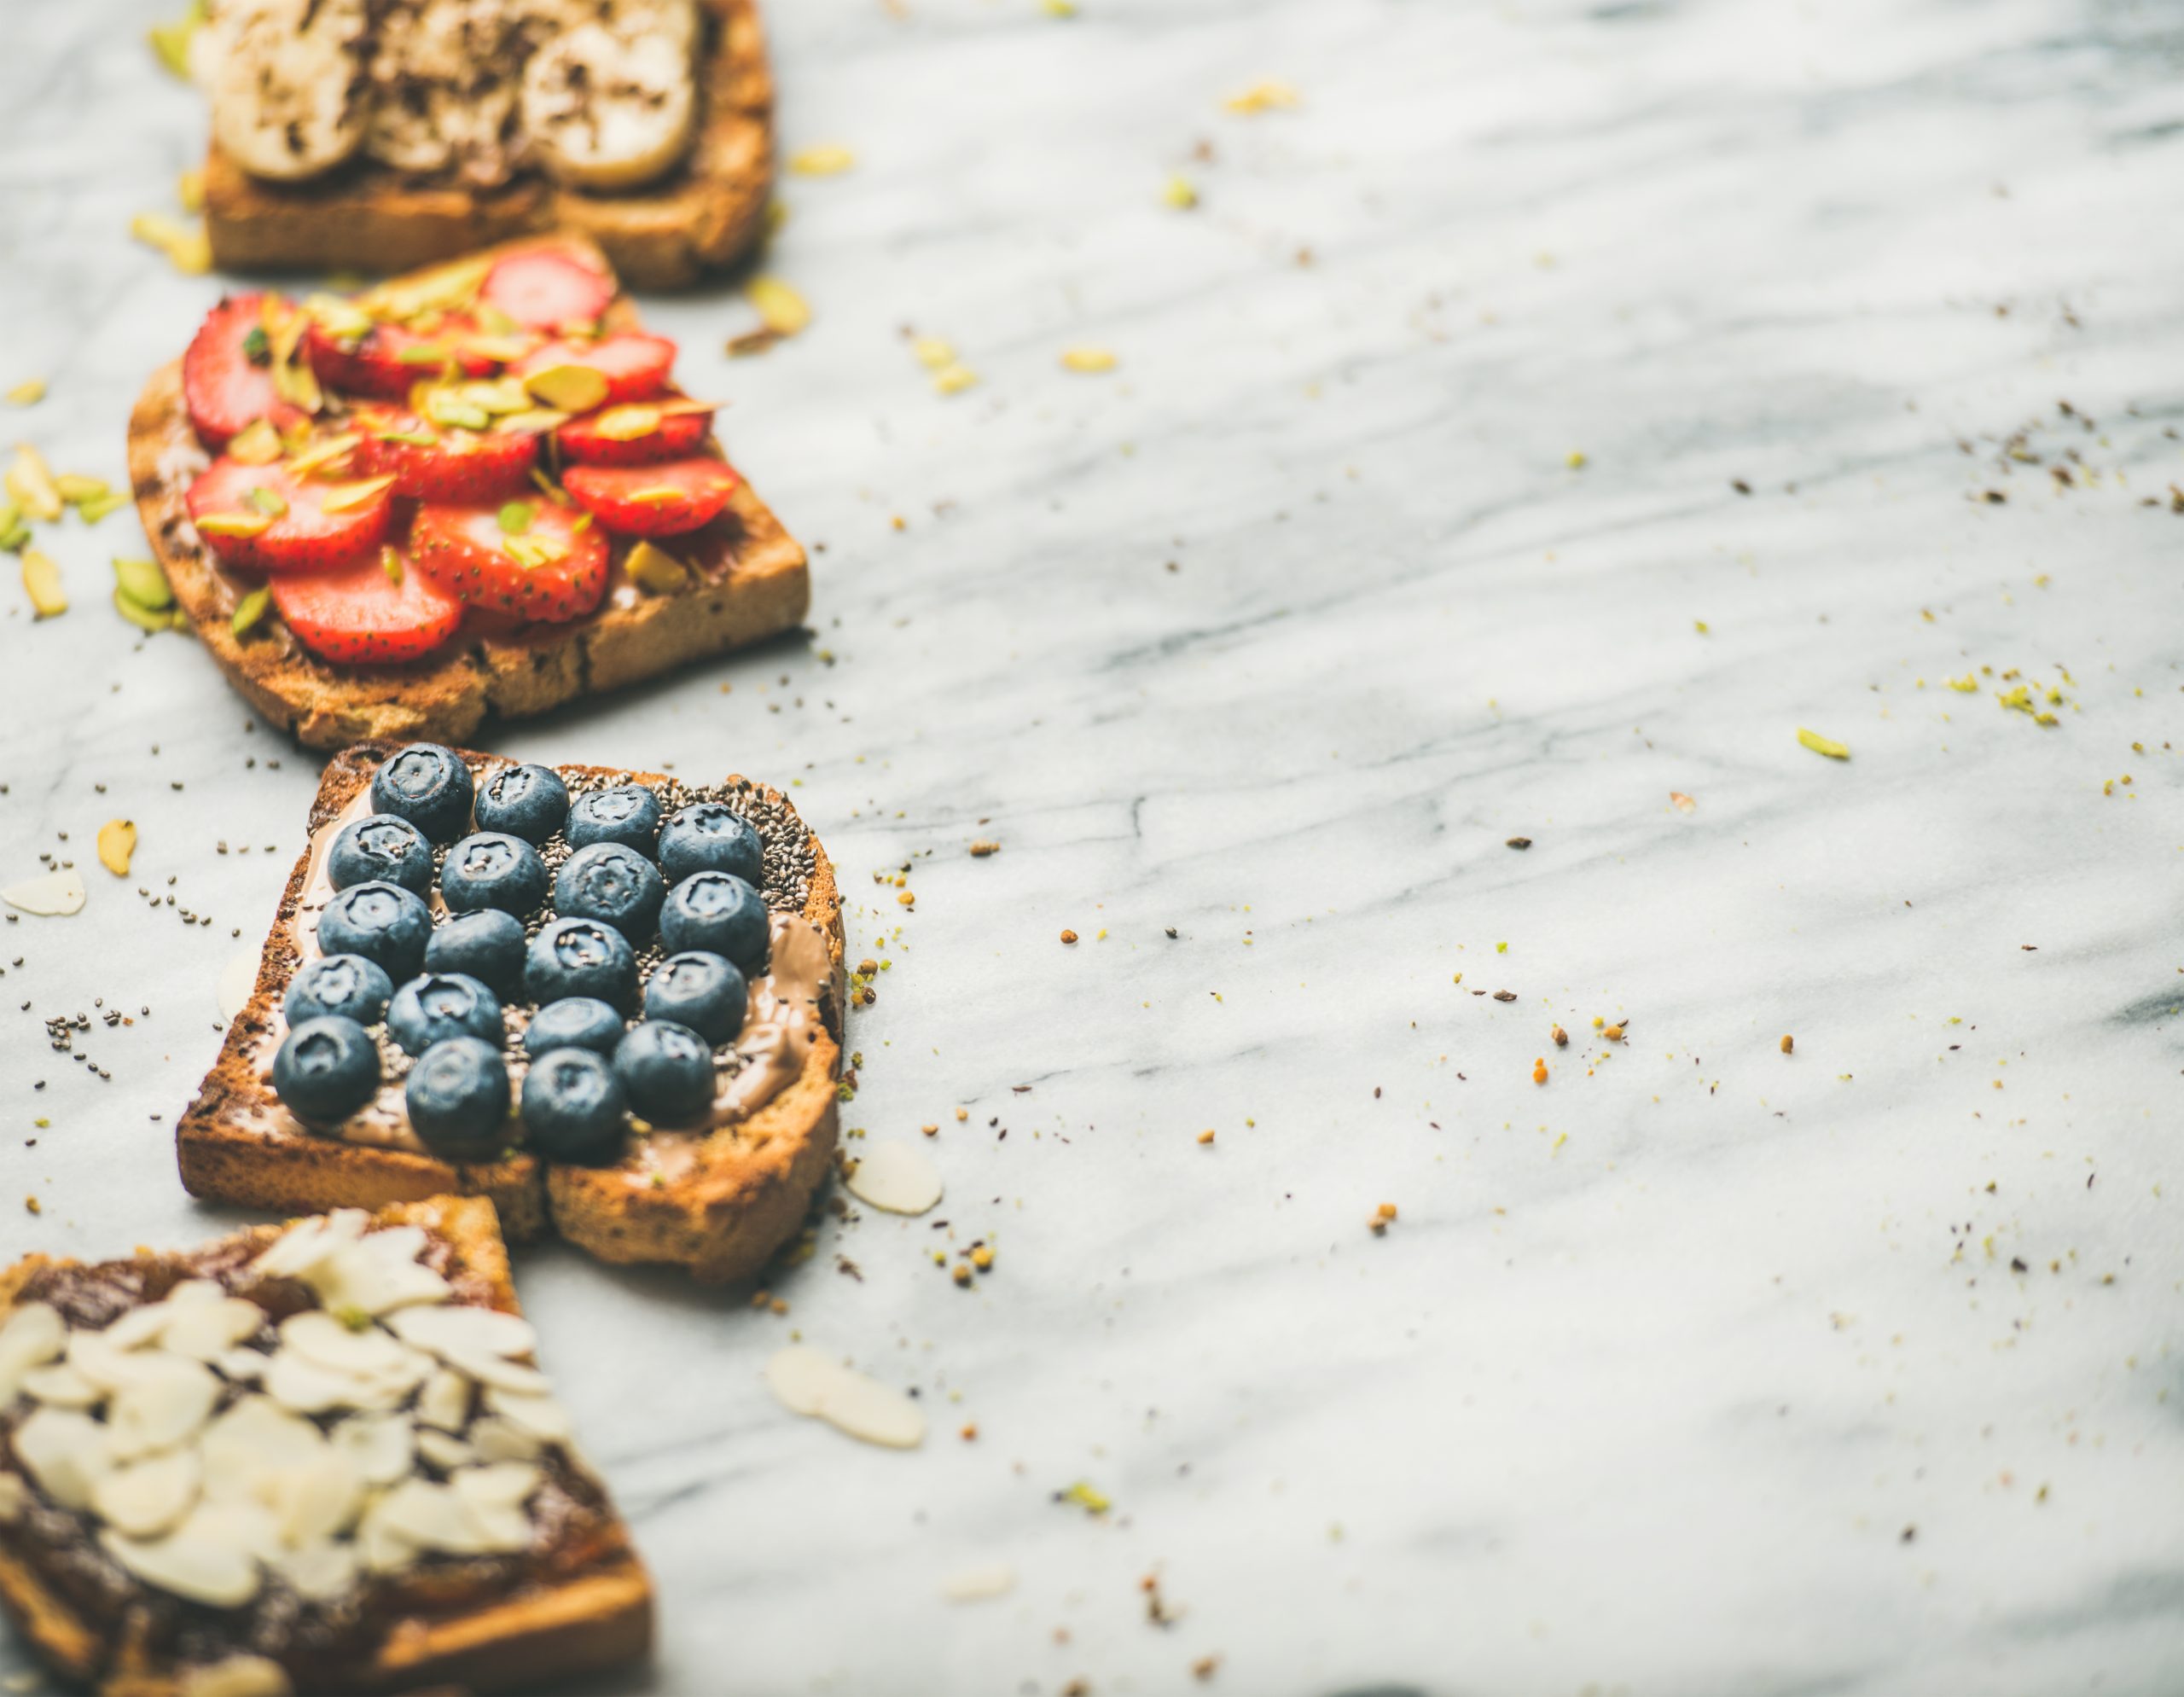
9. Keep Colors Balanced
Color plays a big role in food photography. Try to include contrast.
For example:
-
Add green herbs to beige dishes.
-
Include colorful vegetables.
-
Use plates that contrast with the food.
Avoid overly saturated filters that distort natural colors. Food should look realistic and fresh.
10. Edit Lightly and Naturally
Editing enhances your photo but shouldn’t change it completely.
Adjust:
-
Brightness
-
Contrast
-
Sharpness
-
Warmth
There are many free editing apps available that make simple adjustments easy. Keep the edits subtle to maintain a natural look.
11. Tell a Story
Good food photography tells a story. Think about the mood you want to create.
Is it:
-
A cozy breakfast scene?
-
A festive dinner setup?
-
A simple homemade lunch?
Add small props like a cup of tea, folded napkin, or scattered ingredients to make the image feel authentic and inviting.
12. Practice and Experiment
Like any skill, food photography improves with practice. Try different lighting setups, backgrounds, and angles. Compare your results and see what works best.
Don’t be afraid to experiment. Sometimes the most creative shots come from trying something new.
Final Thoughts
Taking better food photos at home doesn’t require professional equipment — just good lighting, simple styling, and thoughtful composition. Focus on natural light, clean backgrounds, balanced colors, and clear textures. Keep your setup minimal and intentional.
With practice and attention to detail, you can create beautiful, mouthwatering images that make your dishes stand out. Remember, great food photography is about making viewers feel like they can almost taste what they see.